A proxy is not a VPN. It’s simply an extra hop — your iPhone talks to the proxy server, the proxy server relays the traffic, and the site you reach logs its IP address, not yours. On paper that’s straightforward but in practice, the way iPhone proxy settings are tucked away in iOS confuses people. Add in network settings, authentication prompts, and apps that ignore proxies altogether, and suddenly “just use a proxy” becomes a small weekend project.
In this guide you’ll see how to configure proxy on iPhone, how to use it effectively, how to change or kill it when it gets in the way, and what to do when things break (they will). Along the way we’ll also cover proxy iOS behavior and what an iPhone proxy server connection can and can’t do for you.
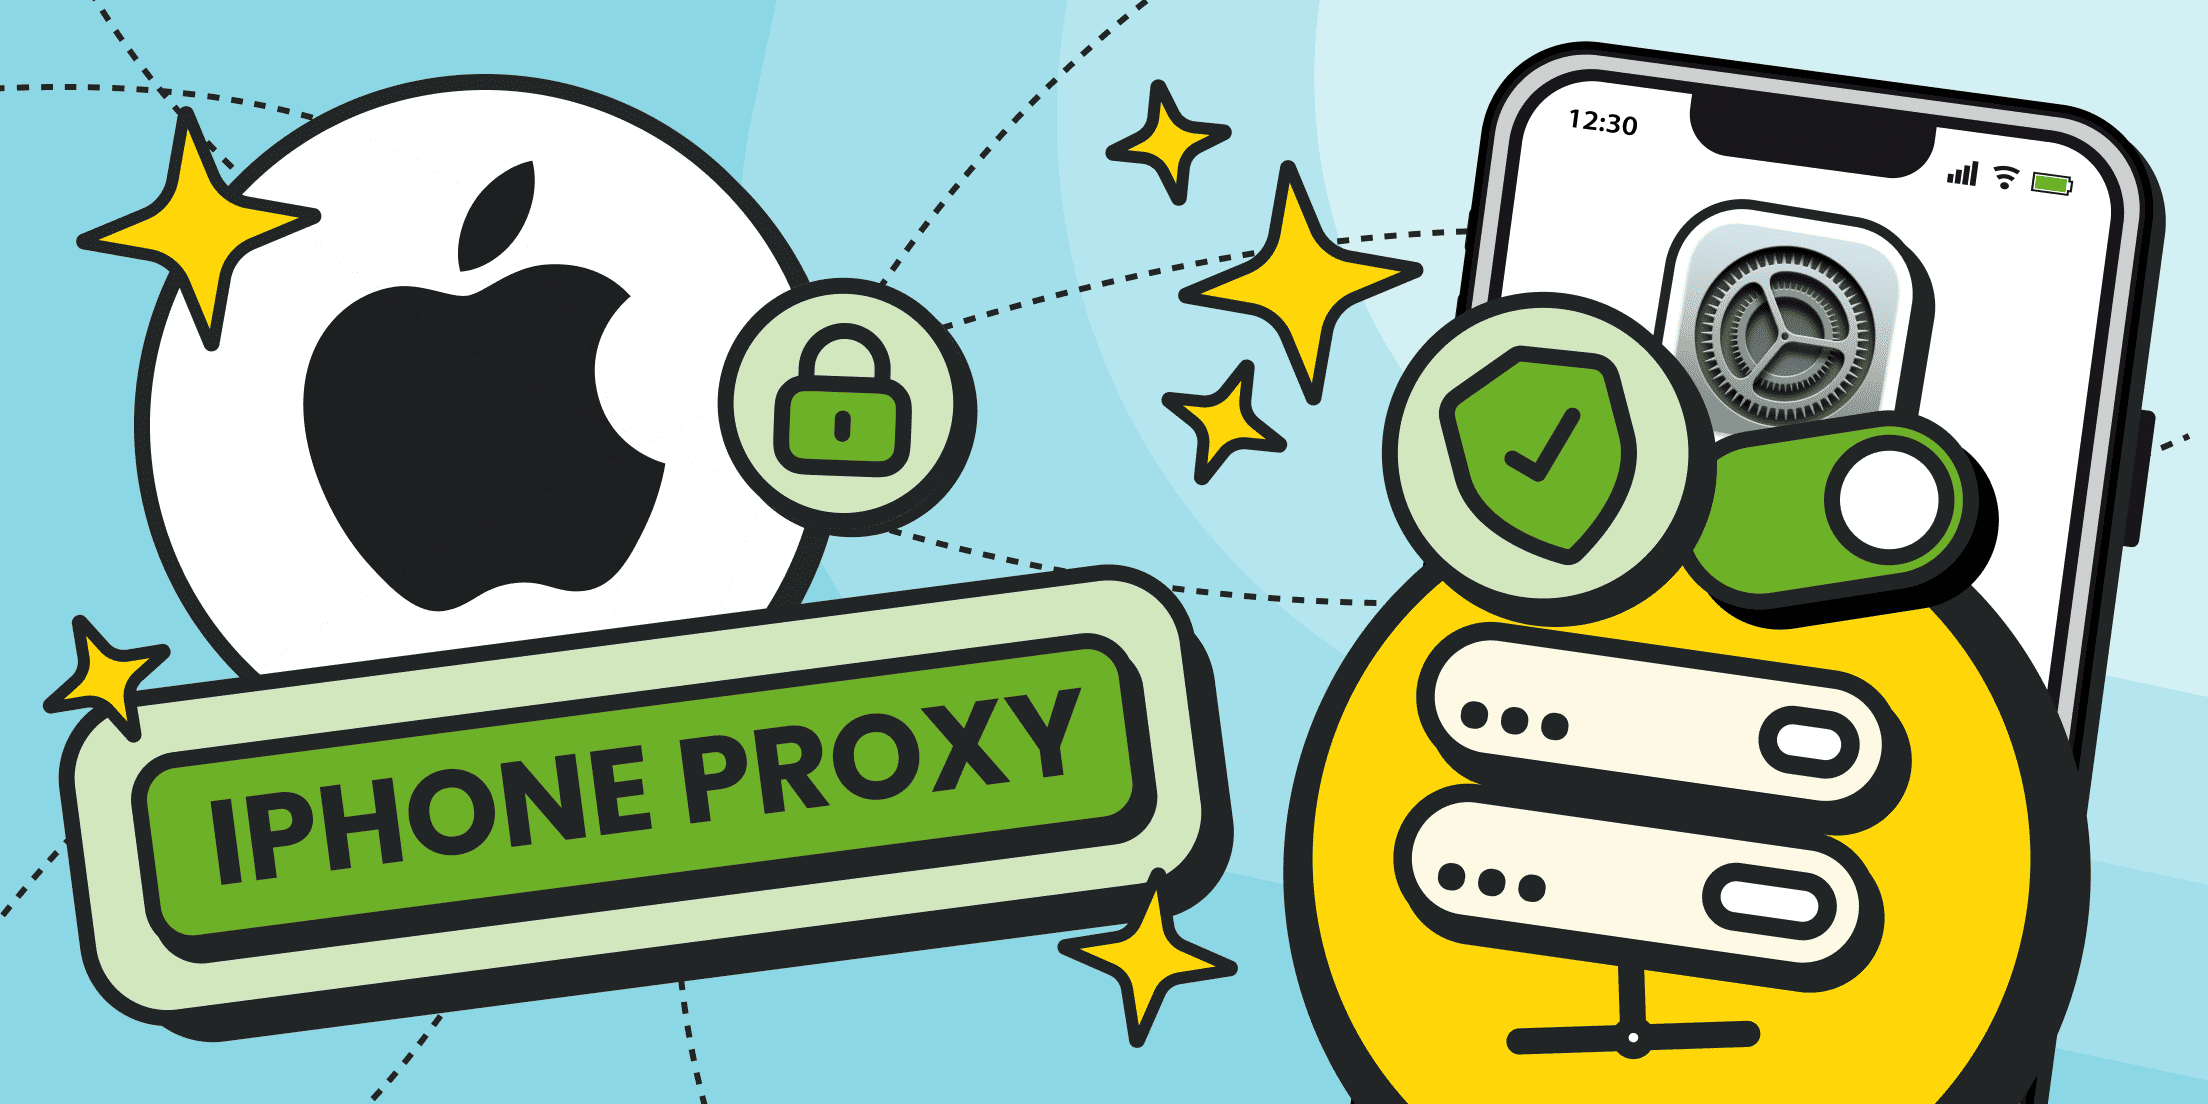
How to Set Proxy on iPhone
The first thing to know: iOS proxy settings are scoped, not universal. Each Wi-Fi network keeps its own proxy server settings, and iOS won’t carry it over when you move between them.
That’s why you can enable a proxy at the office, head home, and suddenly everything works “normally” again. This split is both a feature and a trap. It’s a feature because you can keep one network tied to your staging proxy and another untouched for day-to-day browsing. It’s a trap because people forget which network they tweaked last week and end up troubleshooting phantom issues. Think of it as iOS giving you a separate toolbox for every Wi-Fi connection — neat, but easy to lose track of if you don’t label the drawers.
To actually reach that toolbox, open Settings → Wi-Fi, tap the ⓘ next to your current network, and scroll down to Configure Proxy. Three options live there: Off, Manual configuration, Automatic. That’s the whole universe of system-level iPhone proxy settings.
If you’re unsure which route to take, remember you can always configure proxy manually following the steps below.
Worldwide Coverage
5 continents, No limits
Access our proxy network with over 200 locations and over 10 million IP addresses.
Manual Mode
To connect a proxy manually on iOS, follow these steps:
- Open Settings on your device’s home screen.
- In the Settings menu, tap Wi-Fi and make sure it’s enabled.

- Tap the name of the Wi-Fi network you are connected to (home, office, or public).

- Scroll down the Wi-Fi settings page until you see the HTTP Proxy section.

- Switch the option from Off to Manual configuration.
- Enter the proxy details you received from your provider — typically a proxy server address (hostname or IP address) and a port number. For example, from your Froxy subscription settings.

- If your proxy requires login credentials, enable Authentication and add your username and password.
- Tap Save in the top-right corner.
Once saved, your iPhone will route all traffic from this Wi-Fi connection through the iPhone proxy you specified.
Automatic Mode (PAC Files) in Proxy iOS
Automatic is shorthand for Proxy Auto-Config. It’s a JavaScript file that decides routing rules: some domains through the proxy server, some bypassed, etc. Large networks use this when they want flexible control.
Typically, you don’t invent a PAC file yourself — it’s provided by your network administrator, your IT department, or sometimes directly by the proxy service you subscribe to. If you’re in a corporate environment, the PAC URL will usually be in onboarding docs. If you’re using a commercial provider, check your dashboard or support portal for the PAC link.
Steps:
- Switch to Automatic.
- Paste the PAC URL (something like https://network.local/proxy.pac).
- Save.
If you can open that PAC URL in Safari and see code, it should work. PAC files are fragile: one typo in the JavaScript and your iPhone pretends the internet doesn’t exist.
Some providers also support automatic proxy detection, which means your iPhone tries to find proxy settings on its own (usually via WPAD, DHCP, or a PAC file). It’s convenient in corporate networks but often unreliable on public Wi-Fi, so keep manual configuration as a fallback.
Quick Validation of iPhone Proxy Settings
Once you’ve finished with the setup, don’t just assume it works — test it. Open a plain HTTP site and then an HTTPS one; both should load without drama. If HTTPS chokes while HTTP still works, odds are there’s SSL filtering or some strict box in the network settings. After that, launch a couple of apps that rely on the system stack — Mail, Slack, Safari — to confirm they’re actually honoring the proxy server.
And do yourself a favor: write down the configure proxy server settings you used (server, port, auth, IP address). Future-you will thank present-you for keeping notes.
How to Use Proxy Server on iPhone

Having a proxy configured doesn’t automatically mean you’re routing everything through it. Proxy on iPhone only applies in specific contexts:
- Scope. Wi-Fi traffic that respects system networking libraries. Safari, Mail, and many third-party apps will obey. But some apps (especially streaming or custom-coded ones) ignore iPhone proxy settings entirely.
- Exclusions. Cellular traffic doesn’t go through your proxy server. If you want mobile data in the tunnel, you’ll need a VPN.
- Verification. To make sure the proxy works, open an IP check site or use curl — a simple command-line tool for sending requests. If the response shows the IP address of your proxy, everything is set up correctly.
So what does “using” a proxy server on iPhone look like in practice?
- You join a Wi-Fi, flip on the proxy, and everything in Safari now egresses through it.
- A dev team can run a proxy server on a laptop, point their iPhone at it, and capture raw requests for debugging.
- A traveler might configure a provider’s proxy server endpoint to dodge local filtering.
If you’re shopping for a proxy for iPhone, filter by three things: speed, stability, and transparency. Don’t be dazzled by “unlimited bandwidth” stickers. You want clear documentation, authentication options that match what iOS supports, and reliable endpoints. Some providers bundle proxy servers for iPhone with regional exit nodes, letting you appear in multiple countries. That’s handy for QA teams and equally handy for someone who just wants BBC iPlayer outside the UK.
For real-world use, always verify how to configure proxy correctly and make sure your provider explains how their setup works with proxy on iPhone. Run a quick test on an IP-check site to confirm the exit IP address belongs to the proxy server, not your home network.
If you’re hunting for the best proxy for iPhone, don’t fall for the “fastest / cheapest / unlimited” banners. Those usually translate to “we’ll disappear the moment you need support.” A good provider makes life boring in the best way: the proxy stays up, the documentation matches what you actually see on your screen, and when you email a technical question like “do you support PAC?” or “what happens if I rotate credentials every week?” you get a real answer instead of a canned line.
That’s exactly how we approach it at Froxy: support isn’t an afterthought, it’s part of the product itself. And you don’t have to take our word for it — put us to the test. Drop a line to support@froxy.com with any question you’d normally ask a provider, and see for yourself how quickly and concretely we respond.
Pay for Proxy with Crypto
Fast, secure, and anonymous payments with your favorite cryptocurrencies.
Changing and Disabling Proxy on iPhone
Let’s say you configured a proxy, but now you’re at a coffee shop and nothing loads. Odds are the shop’s firewall blocks your proxy server’s port. You don’t want to uninstall anything; you just want to kill the proxy quickly.
The procedure is identical to setup: Settings → Wi-Fi → ⓘ → Configure Proxy. From there:
- Change the host/port to new values.
- Switch from Manual to Automatic if you have a PAC file.
- Or set it back to Off.
The important part: the setting is sticky per-network. You might disable it on one Wi-Fi but still have it active on another you joined last week. That’s where most “my iPhone is broken” complaints start. To avoid that confusion, make it a habit to quickly check your iPhone proxy settings when you switch networks — two seconds of attention can save you half an hour of pointless debugging.
Also, jot down which networks have proxies configured. If you work across multiple client environments, those notes turn into a lifesaver.
Troubleshooting & Common Issues

Proxy iOS troubleshooting is boring once you treat it like a checklist instead of a mystery novel. Let’s run through the most common cases.
Slow Connection or Inaccessible Websites
Classic symptoms: pages half-load, or only plain HTTP sites open.
- Latency. If the mobile proxy is halfway across the planet, expect lag. Choose a closer endpoint.
- Firewall rules. Public Wi-Fi often kills ports like 8080 or 3128. Stick to 80 or 443 if possible.
- TLS issues. Some proxies break HTTPS by mishandling handshakes. Test with multiple sites. If only some domains fail, suspect TLS.
- PAC bugs. Open the PAC file in Safari. If it throws an error or looks empty, you found your culprit.
Authentication Errors
Nothing kills a session faster than bad credentials. On iOS, that usually shows up as the endless 407 proxy auth loop:
- Re-enter credentials under iPhone proxy settings.
- If you recently changed your password, flush the old attempt by toggling proxy Off, then On.
- Forget the Wi-Fi network entirely and rejoin. That resets the cached credentials.
Quick Fixes
A lot of issues clear with basic resets:
- Toggle the proxy Off, then back On.
- Flip Airplane Mode on/off.
- Forget the Wi-Fi, rejoin, and re-enter the proxy.
- Swap to a second endpoint if your provider offers it.
- Temporarily disable custom DNS or content blockers.
These may sound trivial, but they solve 80% of “proxy not working” tickets.
Conclusion

Proxies on iOS aren’t some occult ritual — they’re just hidden in places Apple doesn’t bother to explain. Once you know where to look (Settings → Wi-Fi → ⓘ → Configure Proxy), the mechanics are straightforward: punch in host and port, or drop a PAC file, and you’re in business. From there, it’s routine work — test it, adjust it when it misbehaves, and switch it off when you’re done.
We’ve covered the full loop: how to set up proxy on iPhone, how to actually use it, how to tweak or disable it without turning your Wi-Fi into a brick, and how to troubleshoot when Safari just sits there spinning. We’ve also been blunt about the limits: some apps will happily bypass your setup, mobile data ignores it entirely, and at the end of the day, trust in your provider is the only real safety net.
So treat your proxy iOS setup like the rest of your toolkit — useful, sharp, but not indestructible. Document your iPhone proxy settings, keep backups of your configs, and choose a provider you’d trust with your traffic. Do that, and an iPhone proxy server will stop being a source of headaches and start being an actual leverage.